Getting started with SKDB
Create an SKDB account and your first database
You can create a cloud database using the SKDB self service console.
https://console.skdb.io/
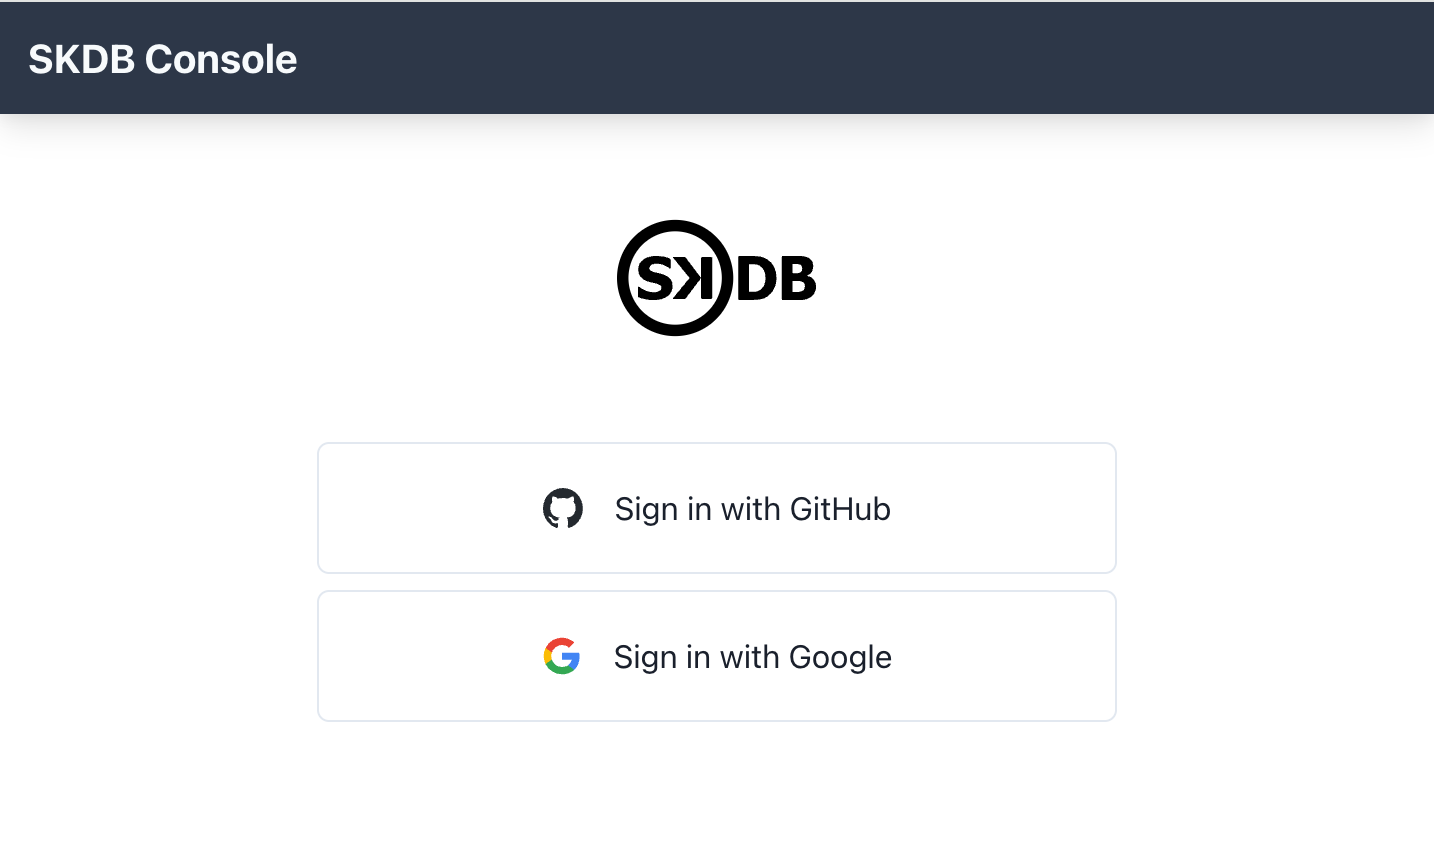
Here you can create an account and sign in.

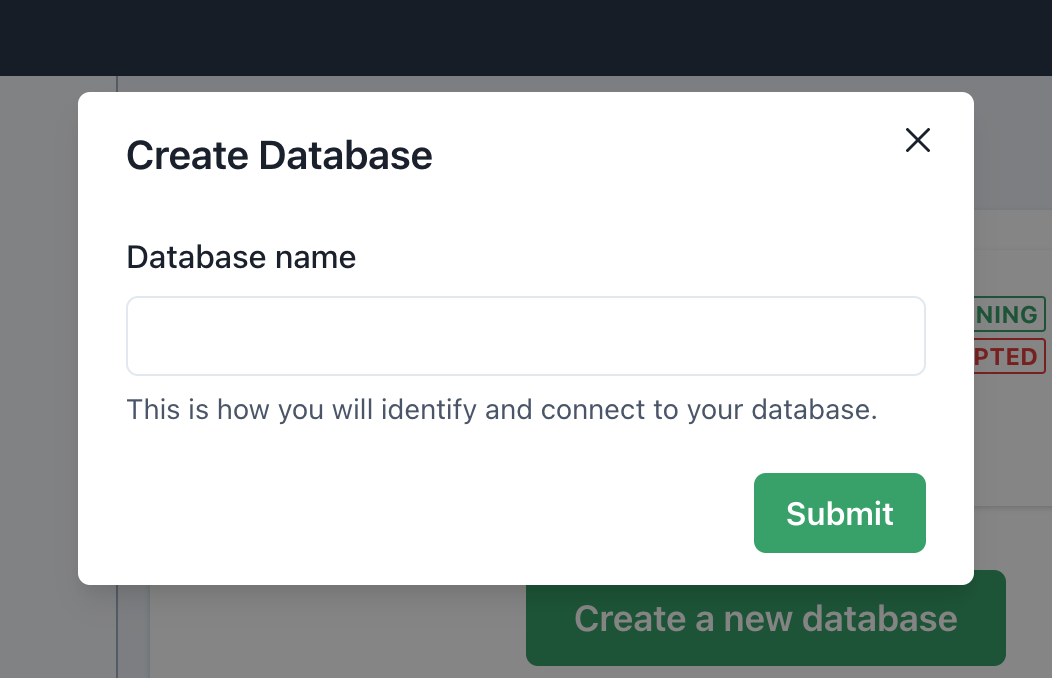
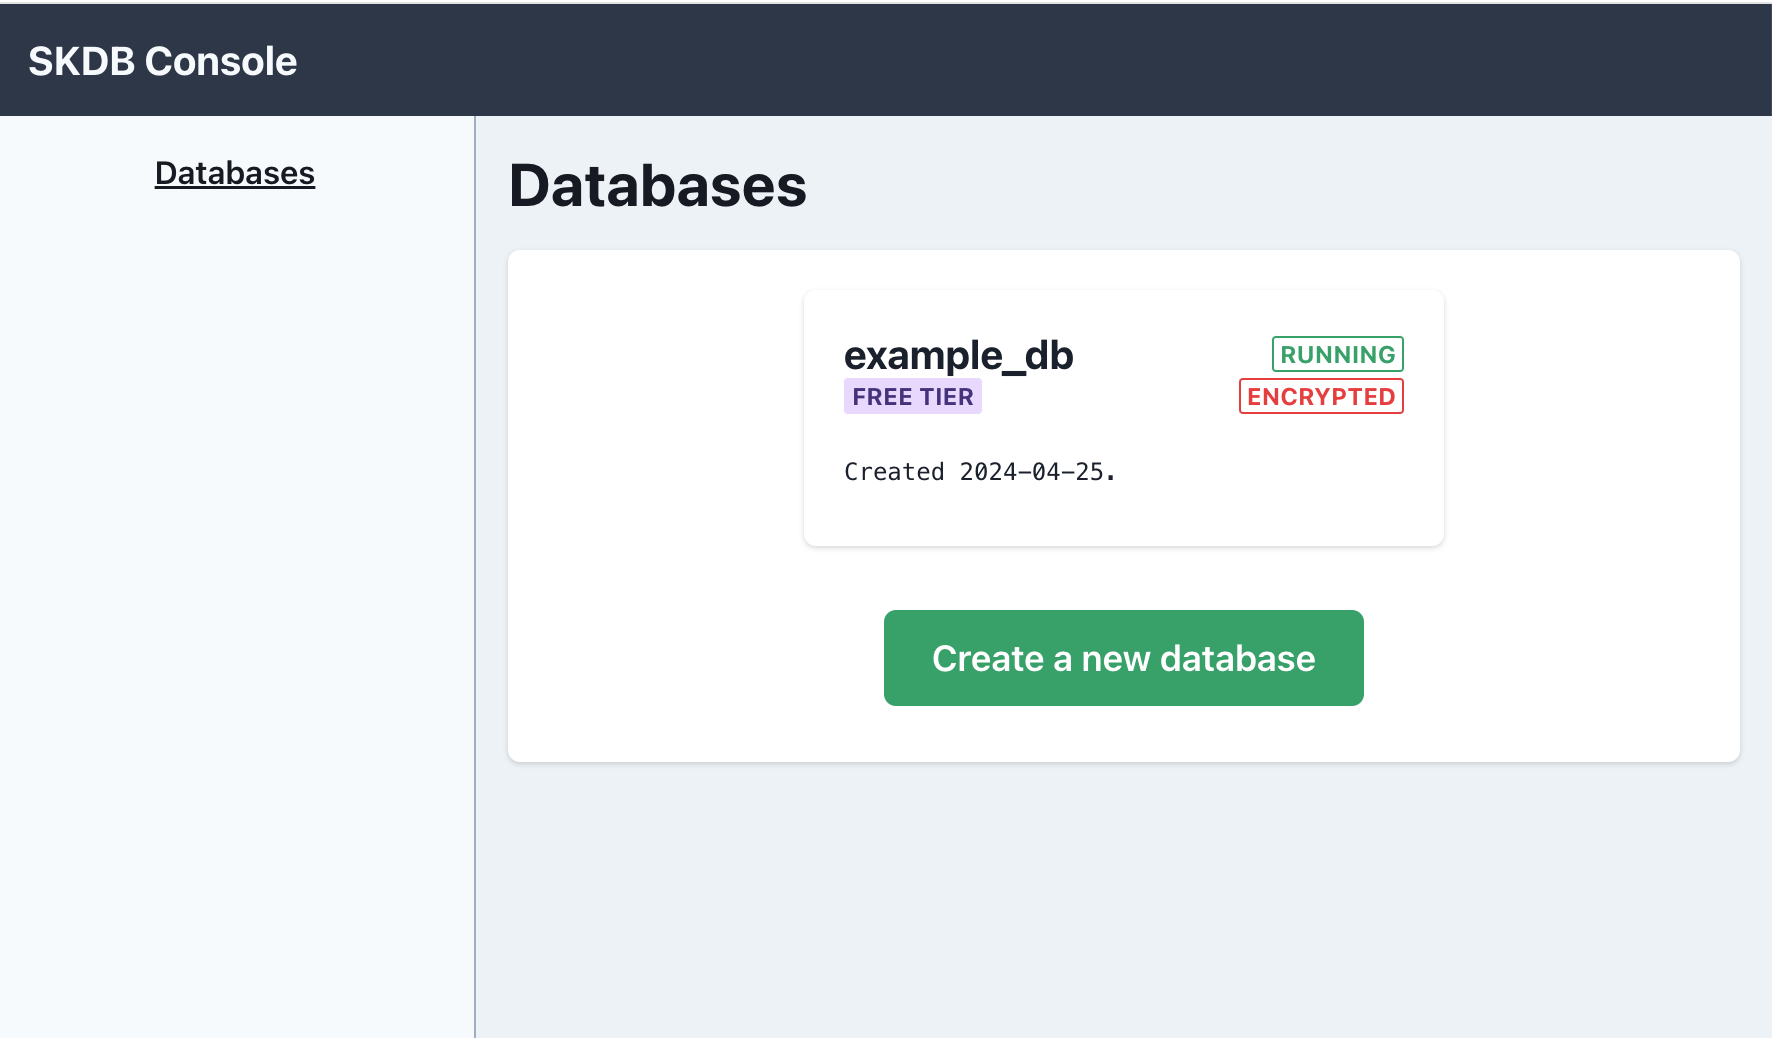
Under the 'Databases' section, click 'Create a new database', provide a name that you'll use in code to establish a connection, and hit 'Submit'.

Databases are created instantly. You can get started with your new database by finding it in the list of databases in your account and clicking on the name.

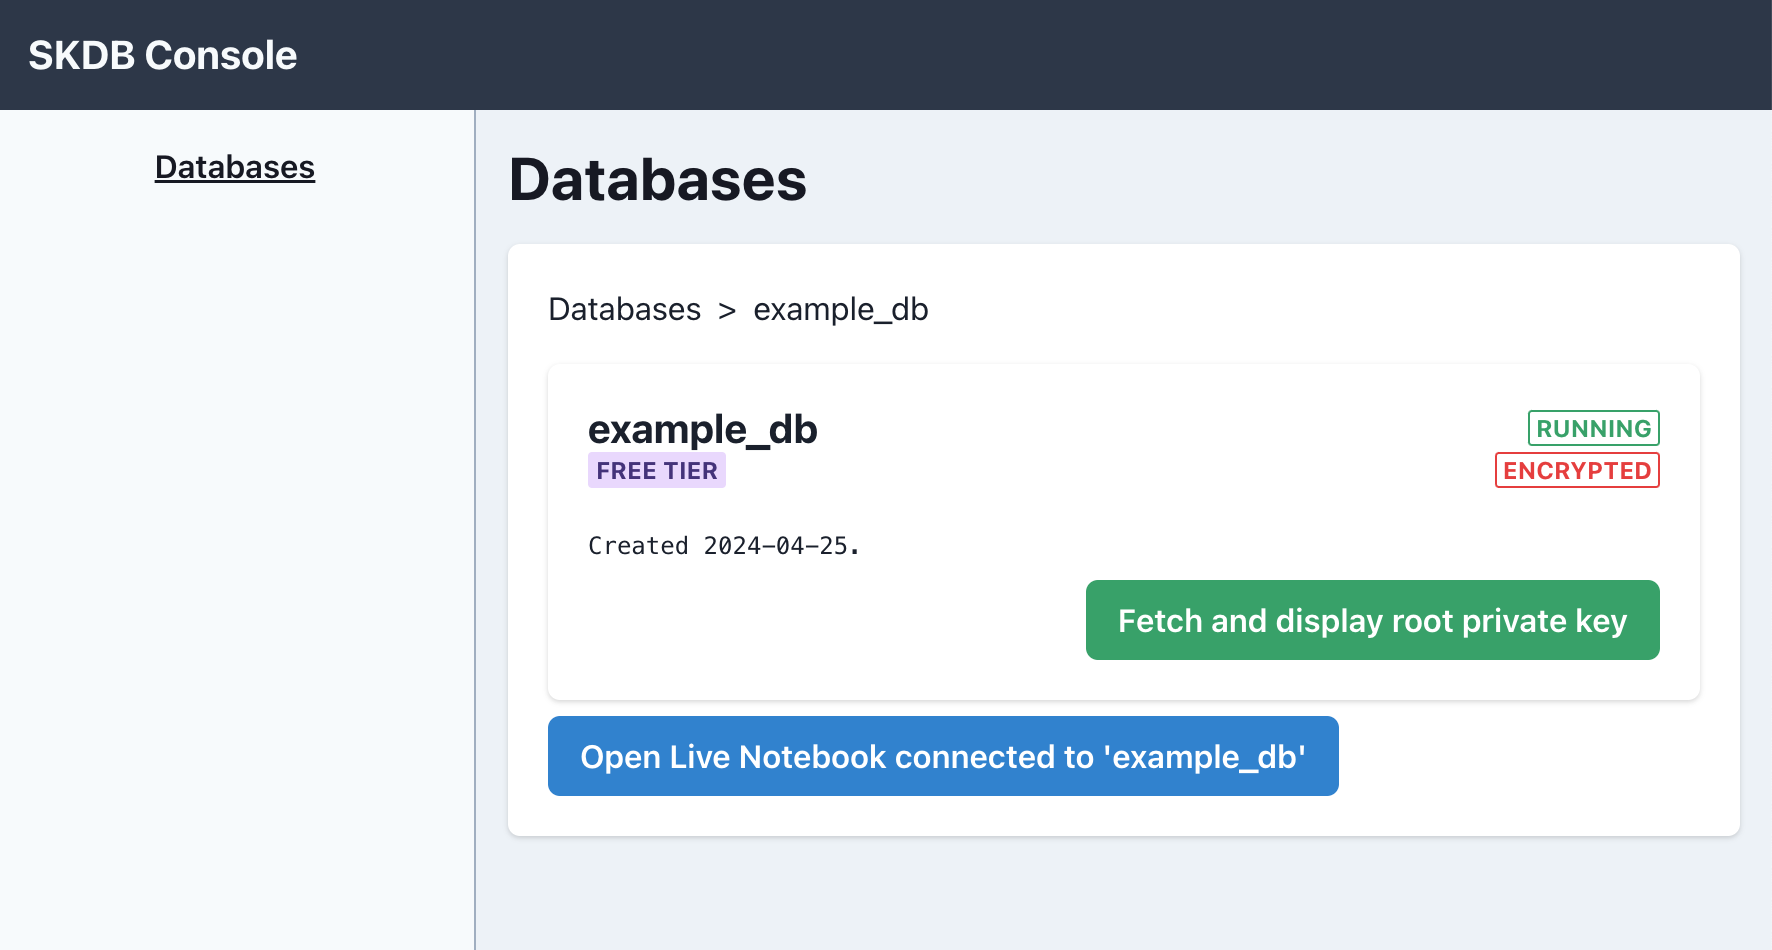
On the database detail page, you can click 'Fetch and display root private key' to get hold of the credential you'll need to connect as 'root'. You can also click 'Open Live Notebook...' to interact with your new database directly in the browser using an interface similar to a Jupyter notebook.

Create a client and connect
The following example will create a local SKDB database.
The skdb instance allows you to interact with the local database.
The database is initially empty but can be populated by running SQL
statements or by mirroring tables and views from the server.
The above SKDB instance will run on the main thread.
With an SKDB client created, you can connect to a server and mirror tables or reactive views.
Assuming our database is called "example_db":
const keyBytes = Buffer.from(
  "<EXAMPLE_DB_ROOT_PRIVATE_KEY_BASE_64>",
  "base64",
);
const key = await crypto.subtle.importKey(
  "raw",
  keyBytes,
  { name: "HMAC", hash: "SHA-256" },
  false,
  ["sign"], // private keys are never sent over the wire, but are used
            // to sign messages, proving that the originator knows the secret key
);

await skdb.connect("example_db", "root", key);

const remote = await skdb.connectedRemote();
console.log("Successfully connected as:", await remote.connectedAs());


await skdb.closeConnection();
And we see that we've established a connection as the 'root' user.
Create a table on the remote server
With a connected SKDB client, you can define
the schema for a table using exec on the RemoteSKDB instance.
const remoteDb = await skdb.connectedRemote();
await remoteDb.exec(
  `CREATE TABLE IF NOT EXISTS mirror_demo_table (
    id TEXT PRIMARY KEY,
    n INTEGER,
    f FLOAT,
    t TEXT,
    skdb_access TEXT NOT NULL
  );`
);
There are a few important things to call out from this example:
-
We create an
skdb_accesscolumn. It must always be defined asTEXT NOT NULL. Theskdb_accesscolumn value defines the read and modify permissions for the row. A table cannot be mirrored without this column defined. See 'control who can see and modify rows' for detail on how this works. -
We use
TEXTas the type for the primary key. It is best practice in SKDB to useTEXTprimary keys. SKDB will generate globally unique ids to prevent conflict with other users. -
Conflicts will be resolved using a 'last-write wins' policy because we defined a primary key. If no primary key is defined then conflicts are not automatically resolved and the application can decide how it wishes to resolve conflict. See controlling replication for detail on how this works.
-
We use
IF NOT EXISTSso that this SQL statement can be idempotently executed in a script.
Mirror a table
With a connection established to the server, you can begin mirroring tables or views.
Assuming we have a remote table mirror_demo_table already setup,
then we can mirror it:
Mirroring creates a table locally with the same schema as the remote table or view and keeps both synchronized: any changes made to either will be instantly reflected to the other. When mirroring a view, the local table is read only.
The above code is convenient for development but we should specify the columns we expect. Specifying the columns ensures the application will get data in this shape even if the schema changes on the server.
await skdb.mirror({
  table: "mirror_demo_table",
  expectedColumns: `(
    id TEXT PRIMARY KEY,
    n INTEGER,
    f FLOAT,
    t TEXT,
    skdb_access TEXT NOT NULL
  )`,
});

console.log("mirror_demo_table:", await skdb.exec("SELECT * FROM mirror_demo_table"));
We were able to successfully query the table, but it does not have any data yet.
You can pass as many table definitions to mirror as you need. SKDB will keep them all synchronized.
NOTE: the list of tables provided to mirror replaces the current mirror setup. This allows you to stop mirroring tables and change any filters.
Stop mirroring all tables:
Query data and watch for changes
watch allows you to run any SQL query that SKDB supports and get the
whole result set each time it changes.
This is very useful when wanting to rebuild views over the whole result set, e.g. when re-rendering react components or re-writing documents into a cache.
You can watch a mirrored table to learn about changes other users are making in real time.
Thanks to SKDB's incremental engine, a watched query is never
re-run. It is incrementally updated only when relevant data changes in
the database. Due to the incremental engine, watched queries are
very efficient and you can run a large number of them at once.
Assuming we've created a 'test' table. Let's
see how watch works:
const handle = await skdb.watch(
  "select * from test where t = @search",
  { search: "foo" },
  (table) => {
    console.log("Update from watch:", table);
  }
);

await skdb.exec("INSERT INTO test(t) VALUES ('foo')");
await skdb.exec("INSERT INTO test(t) VALUES ('bar')");
await skdb.exec("UPDATE test SET t = 'foo' WHERE t = 'bar'");
await skdb.exec("DELETE FROM TEST");

await handle.close();
Update from watch: SKDBTable(0) []
Update from watch: SKDBTable(1) [
  { id: '3g476V8MILv_R-Y01i4Hxu9hUI0', n: null, f: null, t: 'foo' }
]
Update from watch: SKDBTable(2) [
  { id: '3g476V8MILv_R-Y01i4Hxu9hUI0', n: null, f: null, t: 'foo' },
  { id: '3g476cdIUmUA5CTd_lMJCHxOQ47', n: null, f: null, t: 'foo' }
]
Update from watch: SKDBTable(0) []
Modify shared data
Modifying a mirrored table will instantly replicate the change to the cloud database and then propagate the data to all users that are eligible to see the data.
Combining mirroring, watching, and modifying, you can build real-time
interactive applications as easily as working with a local database.
To modify data, run a SQL INSERT, UPDATE, or DELETE statement using exec.
Illustrating with a local table:
await skdb.exec("INSERT INTO test (n, f, t) VALUES (1, 2.1, '3')");
console.log("After insert:");
console.table(await skdb.exec("SELECT * FROM test"));

await skdb.exec("UPDATE test SET n = n + 1");
console.log("After update:");
console.table(await skdb.exec("SELECT id, n FROM test"));

await skdb.exec("DELETE FROM test");
console.log("After delete:");
console.table(await skdb.exec("SELECT * FROM test"));
After insert:
┌─────────┬───────────────────────────────┬───┬─────┬─────┐
│ (index) │ id                            │ n │ f   │ t   │
├─────────┼───────────────────────────────┼───┼─────┼─────┤
│ 0       │ '3g477P96hiOtWi1JaIzF1tJ9570' │ 1 │ 2.1 │ '3' │
└─────────┴───────────────────────────────┴───┴─────┴─────┘
After update:
┌─────────┬───────────────────────────────┬───┐
│ (index) │ id                            │ n │
├─────────┼───────────────────────────────┼───┤
│ 0       │ '3g477P96hiOtWi1JaIzF1tJ9570' │ 2 │
└─────────┴───────────────────────────────┴───┘
After delete:
┌─────────┐
│ (index) │
├─────────┤
└─────────┘